Yes, and it’s similar to the method I demonstrated in your recent post about saving favorite items. Details below…
@Pierre01 shows a good solution here for all of your questions, but repeaters are advanced and for many people take a good bit of time and practice to understand and use them well. They are not required for your prototype, but once set up they do make interactive lists easier, more reliable and consistent, and more extensible.
@Pierre01 is correct here too, and here’s why… Text Field widgets are limited to one line of text only, and vertical text positioning is disabled. Increasing their height does not provide for text wrapping–or multi-line input. Try entering a lot of text in your Text Field widget and you’ll see that text overflows by scrolling horizontally–it does not wrap to another line. Text Area widgets support multi-line input, and text is also disabled, but is top-aligned. You can adjust this a bit–controlling how close text is to the top of the widget–by increasing the Top margin in the PADDING settings of the STYLE pane.
Here is an updated file with a few different solution approaches:
Diary.rp (336.3 KB)
I duplicated your pages to a “Version 2” folder to show a solution with separate pages and your original setup (no repeaters). It is good for a kind of “proof of concept” and/or demonstration purposes, even some quick user testing. It is not as flexible or powerful as a solution with repeaters, but it may be enough for your purposes.
I modified Pierre01’s expression to get the current date so it matches your formatting exactly (starts with "Today - " , month is lowercase, includes “ordinal date” formatting (e.g. 1st, 2nd, 24th, etc.) , and 24-hour time with hours:minutes in 2-digit format). The resulting expression is pretty long, but hopefully straightforward logic:
Today - [[Now.getMonthName().toLowerCase()]] [[Now.getDate()]][[OnLoadVariable]] [[Now.getFullYear()]] - [[ Now.toLocaleString('af-ZA').substring(Now.toLocaleString('af-ZA').indexOf(' '), Now.toLocaleString('af-ZA').lastIndexOf(':')) ]]
_…The ‘af-ZA’ option in the .toLocaleString() function stands for “Afrikaans language, South Africa country” as the locale (which is a common programming localization feature.) The expressions and functions here are all built in to Axure, and while they are not well documented in the Axure reference site, there are many posts, demonstrations and solutions available in this forum if you search for things like “format date” , “12 vs 24 hour” , or the name of a function like “toLocaleString()”. It is often very helpful to search the internet for whatever string or math manipulation you need by prepending “javascript” (which is the core programming language of Axure’s interaction code) …for example, “javascript get current date and time”. Some caveats include the fact that Axure doesn’t support regular expressions (regex) which are commonly used for formatting strings, and Axure doesn’t seem to support some javascript function options, like toLocaleString() options.
I find there is usually a bit of trial and error to get string formatting to work the way I want. For this situation, I made a few test widgets to isolate the formatting needed, especially the ordinal date–I wanted to make sure any date would work, meaning May 1 is shown as “may 1st”. I left them on the “Write diary (2)” page–it may help with your understanding of date formatting.
You can explore all of Axure’s built in variables and functions in the “VALUE function : Edit Text” dialog (click the little fx icon to the right of any VALUE field in the INTERACTIONS pane, then click “Insert Variable or Function…”
On “Write diary (2)” I made these changes:
- I created a set of global variables to store diary entries and keep track of how many entries have been made. In this demo I limit to 3 diary entries only. This approach can support more, but it does require you to preset a fixed maximum number of entries. This is because each saved entry needs its own preset widget on the “Diary written (2)” page.
- Entry1, Entry2, Entry3 (stores the text entered in the Text Area)
- EntryCount
- Time1, Time2, Time3 (for keeping track of when each entry made)
- Assigned a Loaded event for your time string widget to get the current date-time to show as you have it formatted.
- I found a good algorithm for ordinal date formatting and adapted it for Axure’s conditional case logic.
- I use the OnLoadVariable to store the “ordinal” text value (st, nd, rd, or th), then use it in the Set Text action (the Wait 10ms action ensures the OnLoadVariable value gets set before I refer to it in the expressions.)
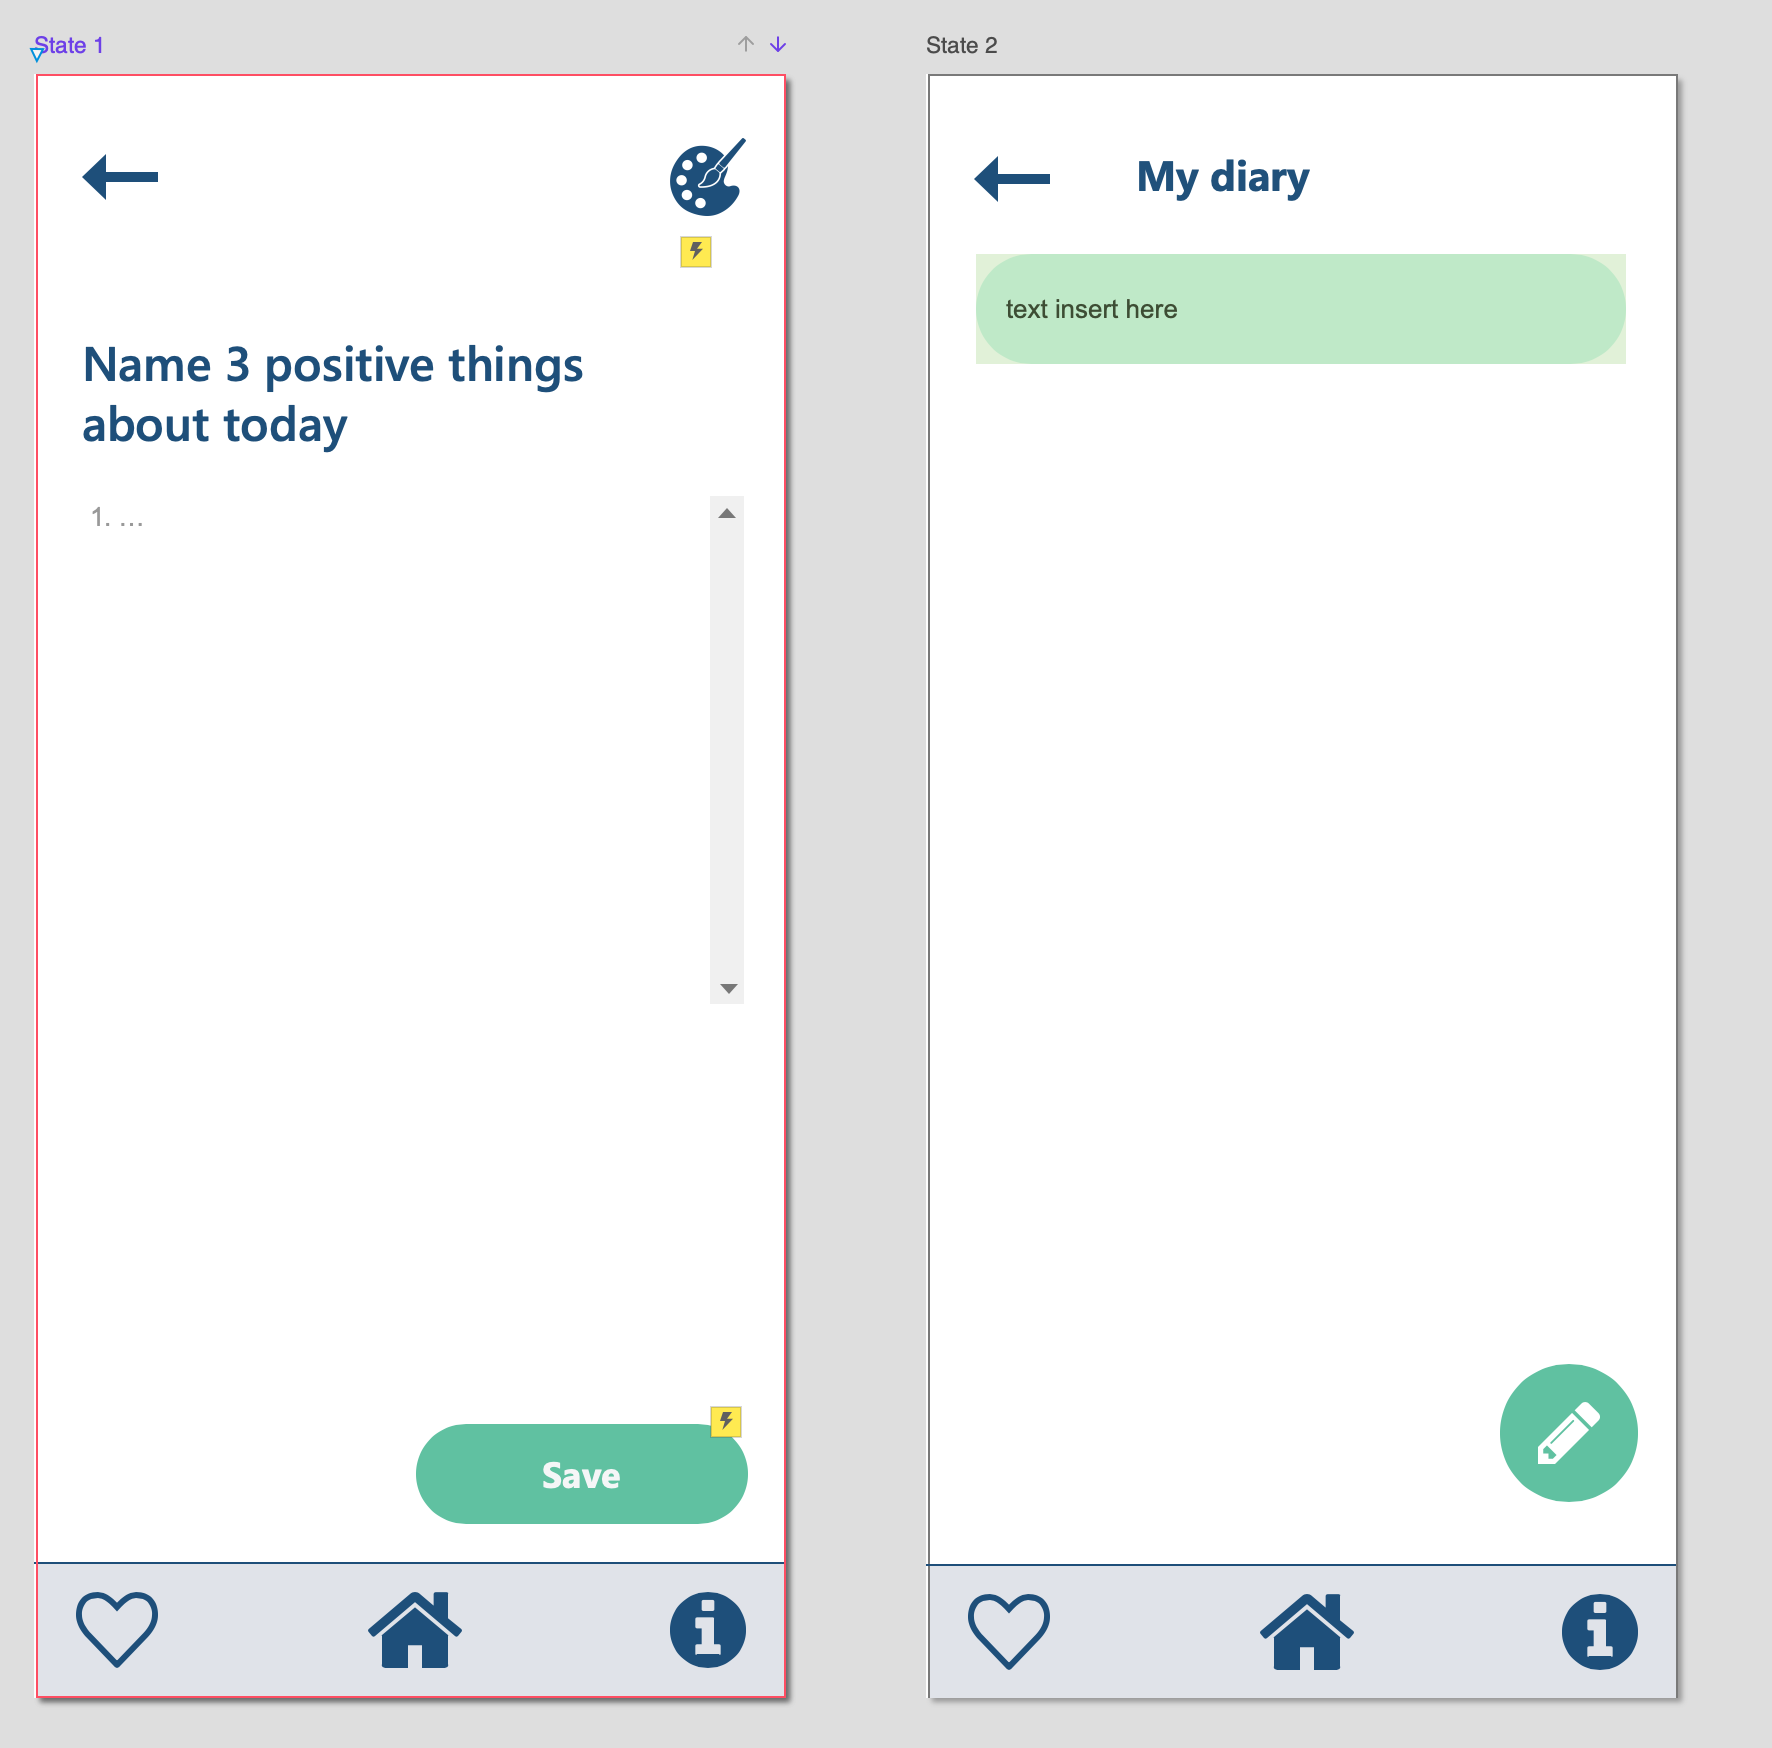
- I replaced your Text Field with a Text Area
- Also use the Text Changed event to show an example of error handling. In this case, if you click “Save” with a blank field it shows an error message.
- I simplified your “Save” button group to just one widget. In Axure (unlike most other prototyping tools) most widgets can have text values, so you can set text directly to your “Save” rectangle widget, styling it as needed, without having to create and position a separate Label widget for the text. I find this greatly simplifies and speeds prototype creation and interactions.
On “Diary written (2)” I made these changes:
- Similar to my solution in your recent post, I created a hotspot for the margin between diary entry “cards” and made a dynamic panel (dp) with the “card” and hotspot.
- Added a date-time label for each card, similar to Pierre01’s solution.
- Duplicated the “diaryPanel1” dp widget and renamed them to get 3 possible diary entries.
- I keep each dp shown by default on the canvas–for easier discovery, editing, positioning.
- In each dp’s Loaded event, a conditional case tests if the corresponding global variable has a value or not.
- The condition for diaryPanel1 is:
If length of value of Entry1 is greater than 0
- The “length of value” refers to how many characters are in a string value. Greater than zero means there must be some characters saved, and if so, it sets the text for the entry and the time. The `Else If true’ condition means the variable length must be zero–no characters–nothing saved, so it hides the corresponding dp.
I then duplicated this folder branch to “Version 3” to show how doing everything on one page can work easier–and even better. It also means you don’t have to use all the extra global variables and basically reset everything each time the “Diary written” page is loaded. The basic approach here uses a dynamic panel state to represent each “page”. Instead of opening a link to change pages, you just change the panel state. It also means that changes to text values, showing/hiding widgets, etc. are retained because everything is still on the same browser page. So I made these further changes:
- I selected all the widgets on the first page and created a dynamic panel from them.
- Added a second, blank dp state.
- Copied all the widgets on the second page and pasted them into the second state on the first page.
- Changed the Loaded events for the “saved card” dp’s to simply hide themselves by default.
- Renamed the states to match the original page names.
- Deleted the second page.
- Updated the actions on the Save button to:
- Directly set text on the widgets in the second state, instead of setting values of global variables.
- Show the corresponding “saved card” dp when a diary entry is saved.
- Change dp state to “change the page” to the list of saved entries in the “Diary written” panel state.
- For good measure, I created a dp that updates the date-time clock in real time (not only when the page is loaded), checking the system time every 10 seconds. You can inspect the “Clock Update” dp widget to see how this is done.
I duplicated the “Version 3” folder branch to “Version 4” to show how this works with a repeater for the list of saved entries. I’ll start with a description of the second dp state and repeater…
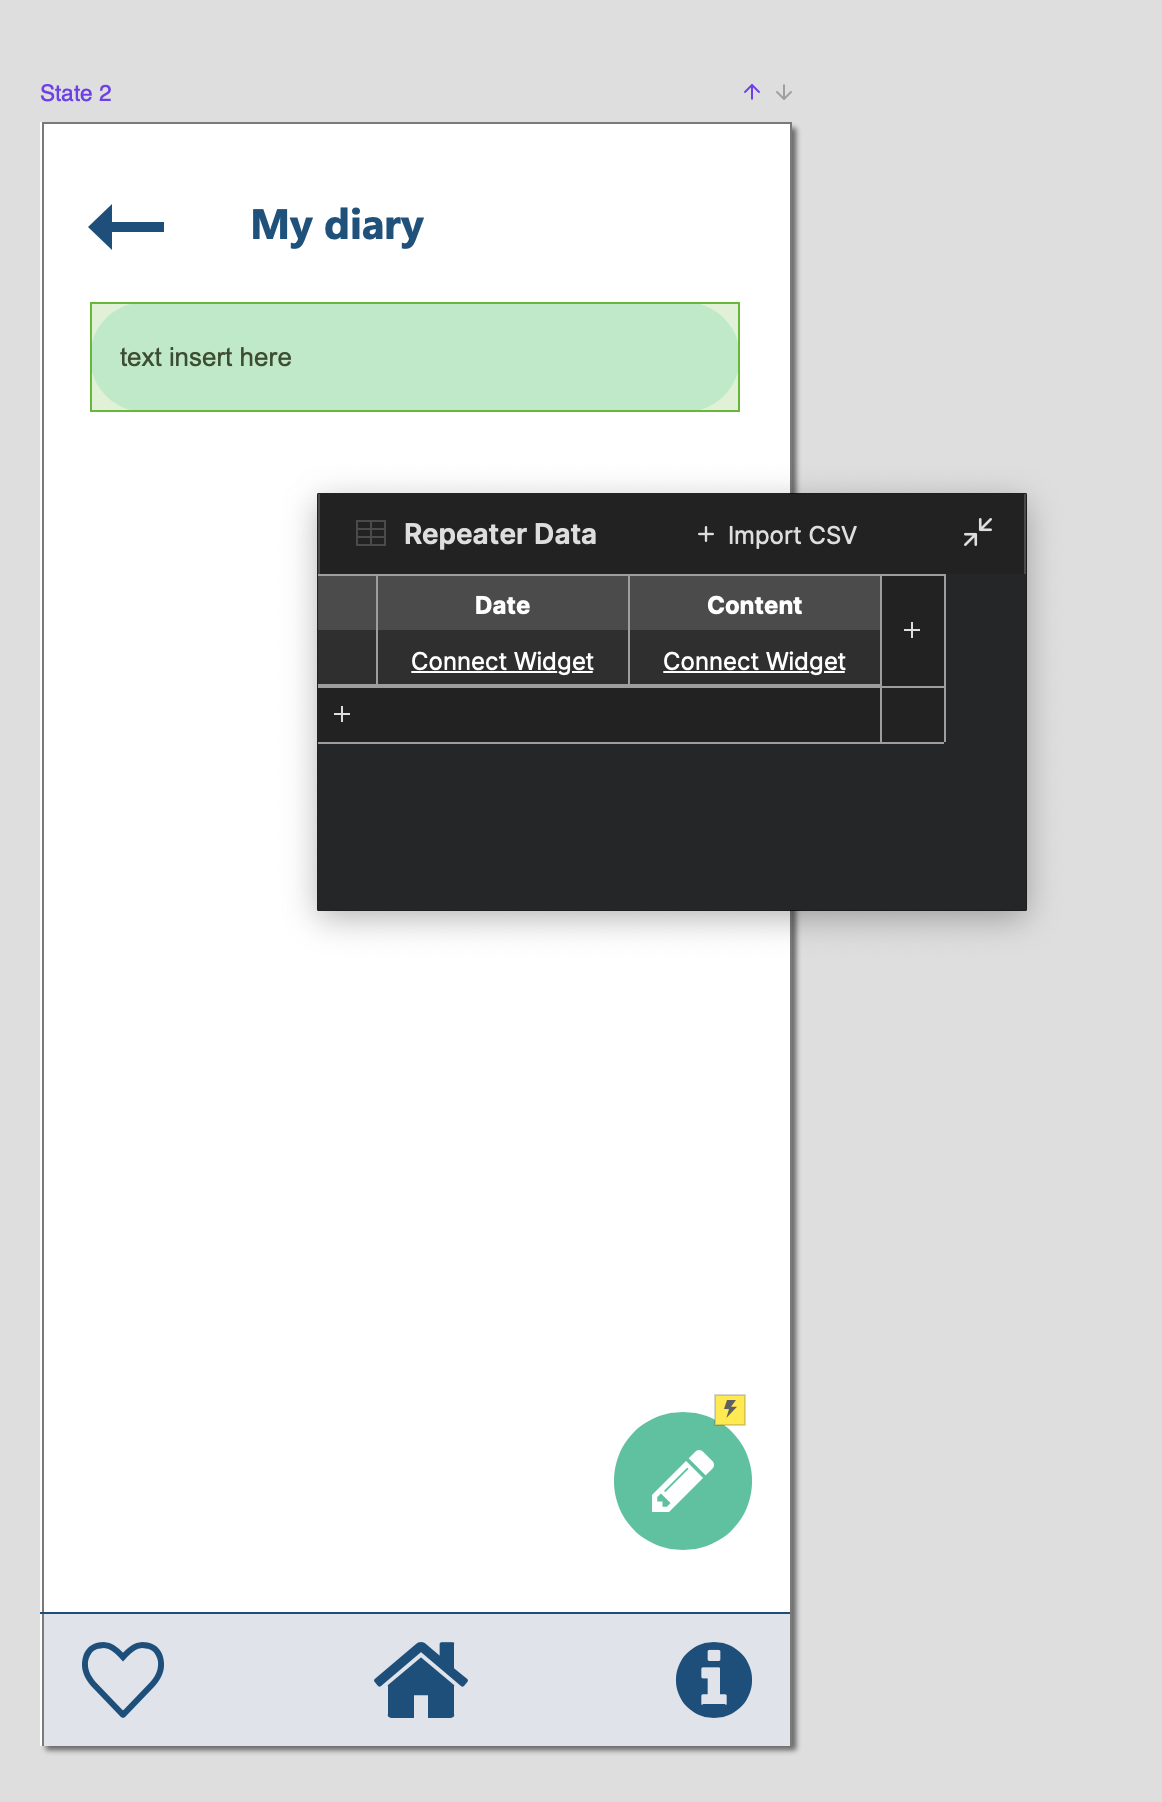
- In the second dp state I pulled in a repeater widget (from the default library), then replaced the default repeater widget with a copy of the “saved card” widget.
- With the repeater selected, on the STYLE pane, I edited the repeater datasheet by creating columns for Num, DateTime, and Entry.
- The Num column is not used so far, but tends to come in handy if you want to allow sorting or filtering features for this list.
- I left the datasheet blank, with no columns, so the repeater is thus empty by default.
- Updated the Item Loaded event to set text based on DateTime and Entry columns.
- Added a conditional case to handle overflow text. Axure doesn’t have built-in methods or support for dynamic text, especially in a repeater. It would be nice if a widget could grow vertically or horizontally to accommodate longer text strings, but alas it does not. There are several ways to get around this which are pretty convoluted–if you need this, there are solutions posted in the forums here. For now, I set up a way to truncate the diary entry text if it is too long to fit.
- I created a little test to see how much text can fit on average. Because your Segoe UI font (like most) are proportional, characters have varying widths, so predicting the area needed to fit all the text can be difficult. In addition to varying widths, the user could have entered some line breaks, so this “quick and dirty” method can still fail, but it should work in most situations.
- For my test, I copied the “saved card” widget, right-clicked it and chose “Fill with Lorem Ipsum”, then made a button to count the chars, using the .length property. This shows 166 chars.
- In this prototype, saved diary entries are limited to 150 chars (leaving hopefully enough buffer here). You can adjust this, change font size, spacing, etc. as you like.
- In the first dp state, I updated the Save button to work with the repeater list, and you can see the Click or Tap interactions are greatly simplified.
- The main thing to pay attention to is the Add Rows action. This is how the repeater list gets built, one item at a time, each time the Save button is clicked.
- If you click into this action, then click into the “Add Rows” button, then click into the cell entries (using the little fx icon) you can see how the data from the first dp state–the current time and the entered text–get transferred to the repeater list.
- For good measure, I added a “charCount” widget to show how many characters have been entered, and the maximum allowed chars, similar to Twitter.
- The Text Changed event of the Text Area widget sets the text value based on its own length (the number of chars in its text value.
- When the maximum chars are exceeded, it sets charCount to
selected equals "true" to show it as a kind of warning (I styled the Selected Interaction Style to show red text, pink fill). It’s not a true error state because the Save button still works, and all the text still gets added to the repeater list. But, the repeater only shows the first 150 characters.
- This leaves open possibilities for future improvements to the repeater for handling long text strings. Perhaps you choose to increase the size of the card to show more text, decrease the font size and spacing, or put the text into a dp that can scroll, or maybe do something like include a “More” button, in which the first 150 chars are shown with a truncation ellipsis (…) and then clicking “More” shows a bigger card with full text content, etc.
If you have any questions about any of this, just reply here. Repeaters are by far the most complicated, misunderstood and probably under-utilized features of Axure. My guess is if you search the forum for “repeater” you’d get more hits than just about any other term! It takes a lot of time to get used to them and understand their benefits, limitations, and quirks. In my opinion it is time well spent, and most everything I know about them came from other users right here on this forum, and by trial and error playing around with them.